
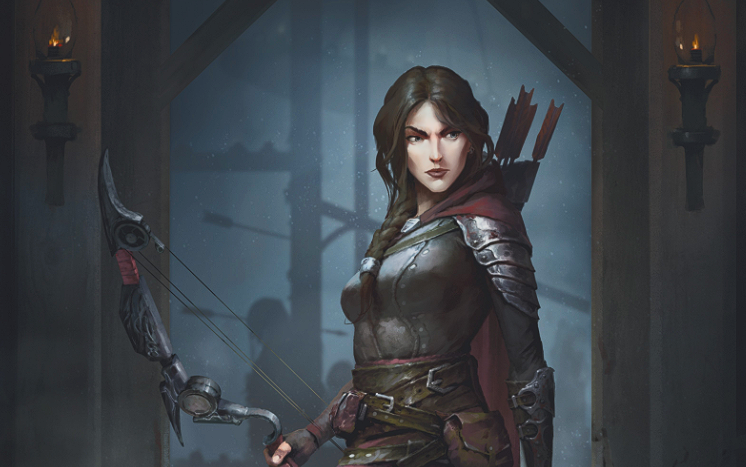
“I always aim to win. And my aim is perfect.”
Art: Azalea, Ace in the Hole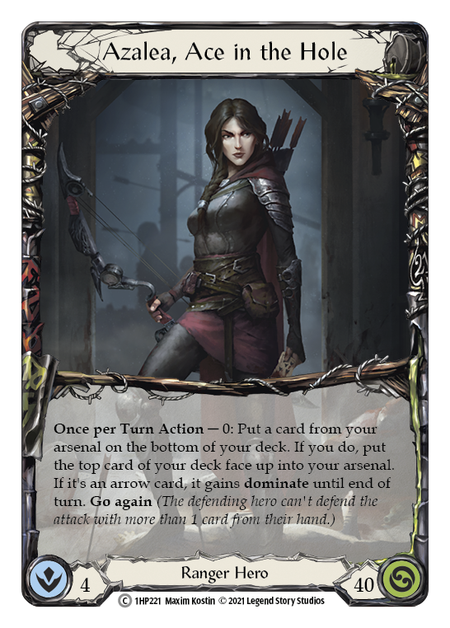 by Maxim Kostin
Table of Contents
Today’s Featured Hero Is:
With Dromai out of the format and so many of the best decks in the format utilizing weapon attacks heavily being on an aggressive high-damage deck that can give your opponents frailty tokens and just overall hurt their gameplan while we continue to shoot high-damage arrows and whittle down our opponents. Azalea is extremely strong right now and has pretty strong matchups into the best of the best decks in Classic Constructed. I have been having a ton of success with this deck, and this is my personal choice for this proquest season. I have jammed an absolute ton of games and want to share my thoughts on this amazing deck. Without further adieu lets get it!
Gameplan:
Load-up and Shoot is the primary game plan for our deck; all jokes aside, that is mostly what we do. We have an absolute ton of zero-cost cards in the deck, and a ton of on-hit effects, and we can easily have a turn where we attack with an arrow that has a bunch of buffs and on-hits. This makes blocking almost necessary for our opponents, especially in matchups like Kassai or Dorinthea, where an on-hit frailty token can absolutely devastate their next turn and ruin the game tempo for them. Even in matchups where the weapons aren’t the most important thing, our on-hits are quite strong and can still help to disrupt tempo even in those matchups. While we can have huge swing-y turns where we output a ton of damage and empty opponent’s hands, we can also have turns where we attack with an arrow and a buff and leave up some equipment to block.
Azalea, Ace in the Hole Arrows
Click here to copy full decklist to your clipboard!
| Hero / Weapon / Equipment |
|---|
| Hero: Azalea, Ace in the Hole Weapon/Off-Hand: Death Dealer 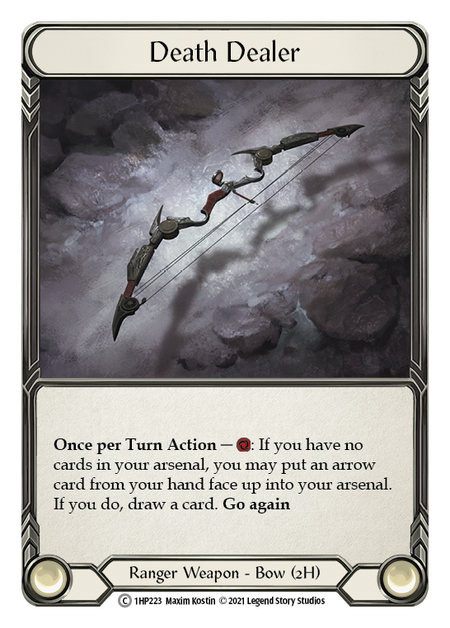 Crow's Nest 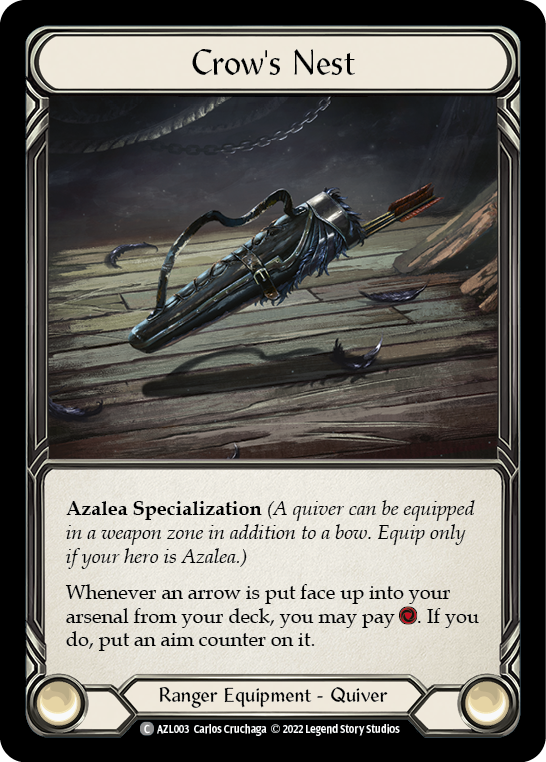 Equipment: Skullbone Crosswrap 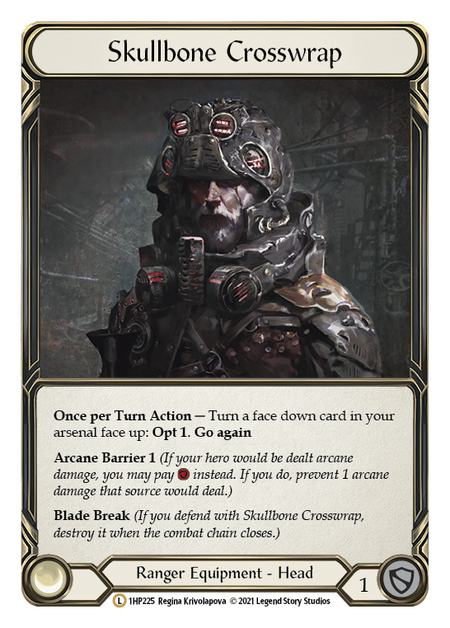 Fyendal's Spring Tunic 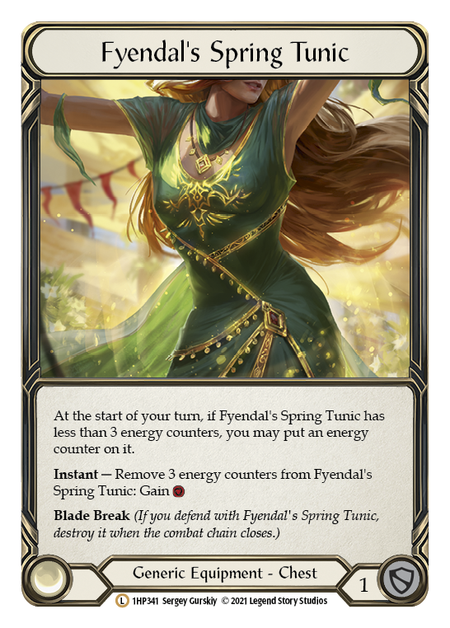 Bull's Eye Bracers 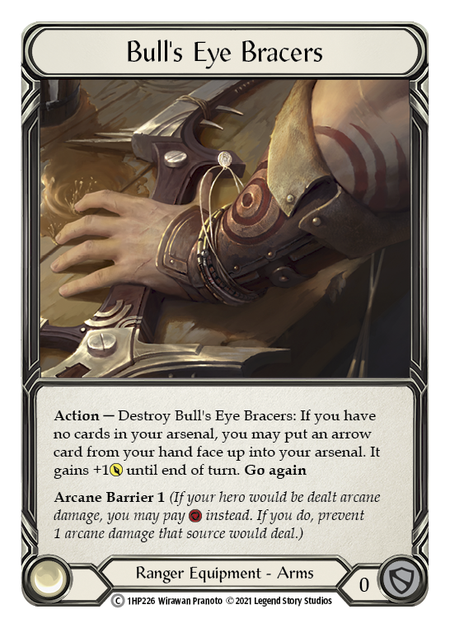 Snapdragon Scalers 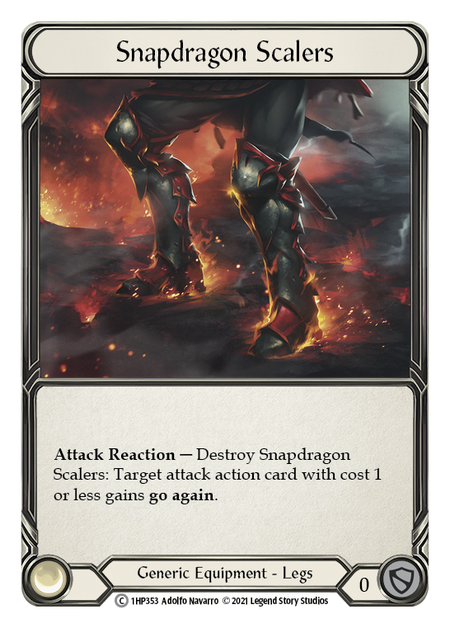 |
| Inventory |
|---|
| Equipment: Perch Grapplers  Pitch 1: 3x Sink Below (Red) 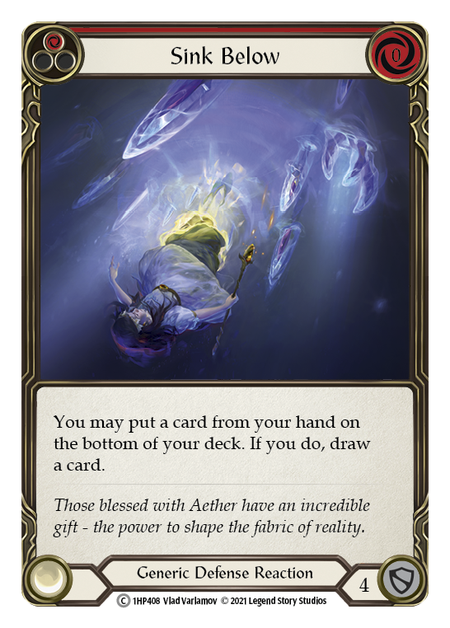 3x Fate Foreseen (Red) 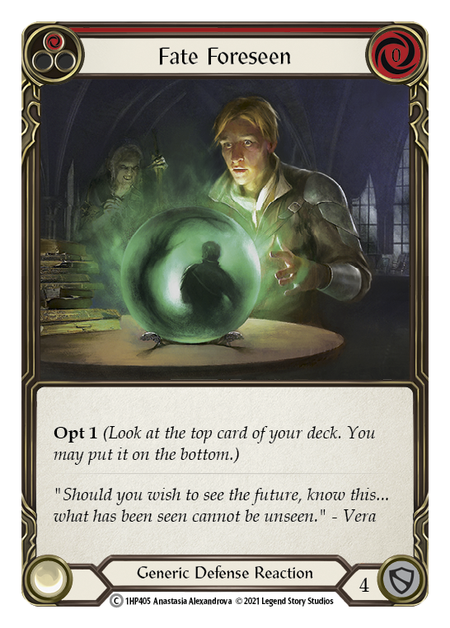 3x Down and Dirty (Red) 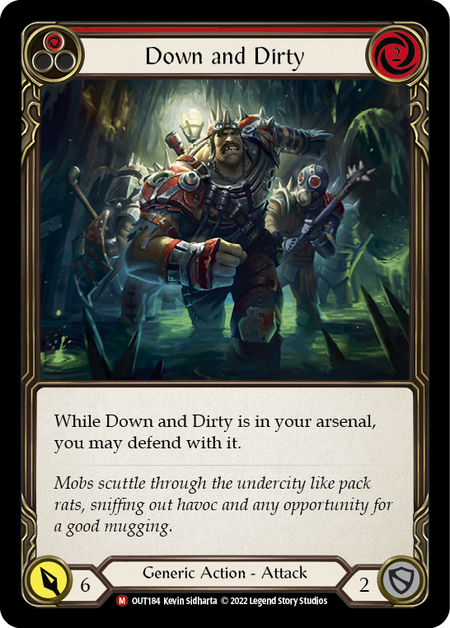 2x Battering Bolt (Red) 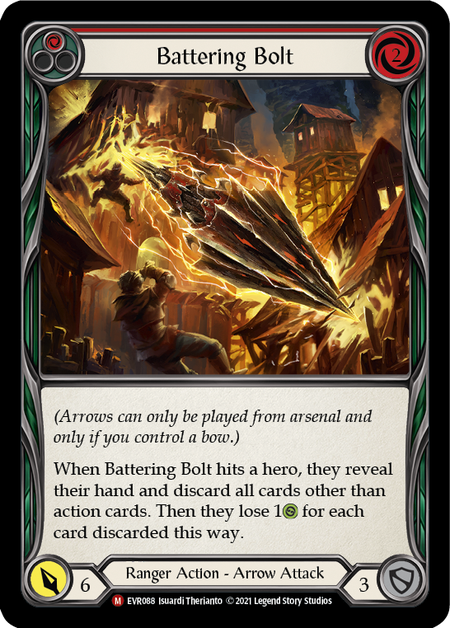 1x Searing Shot (Red) 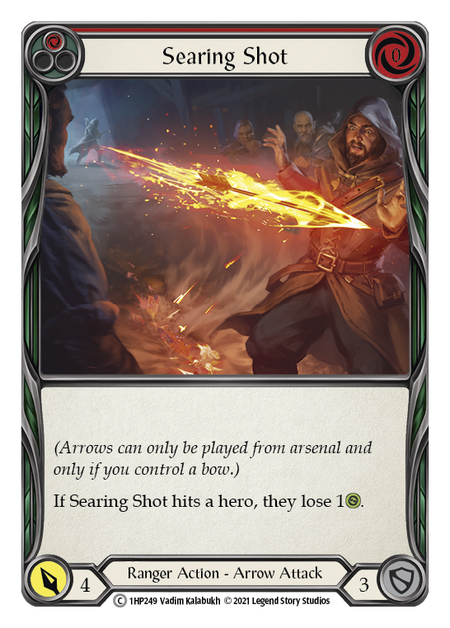 1x Barbed Undertow (Red)  |
Buy This Deck!
Do you need to buy some cards for MTG or Flesh and Blood TCG? Or are you just looking for gaming supplies? Check out our affiliate link with WNYGaming.com and get 5% off anything you order!
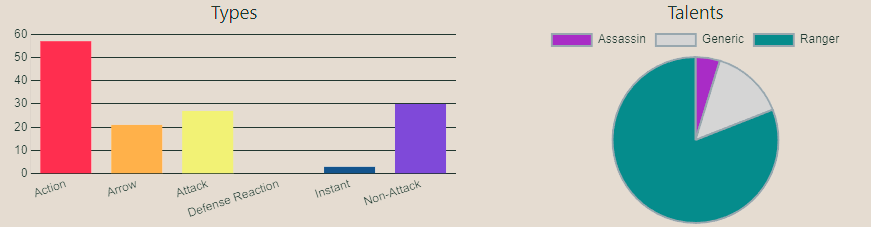
Deck Stats:


Attack Cards/Attack Reactions:
Endless Arrow (Red)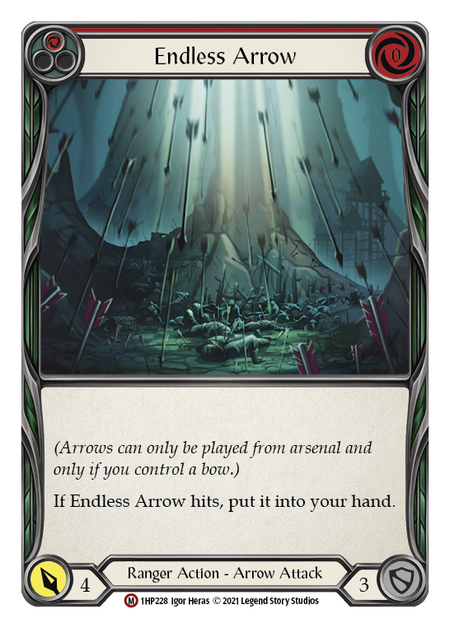 is a very cool card for the deck, but because of the low-attack and tendency of our opponents to block out I think it is right to only run one copy, with some of the buffs we have we can make pretty sure this can hit and it is another very strong zero cost card. Battering Bolt (Red) is pretty sweet and against decks that are very heavy on attacks and tend to be more aggressive it is absolutely right to put in the other two, being able to discard and ruin an opponents hands absolutely breaks tempo for them. Fatigue Shot (Red)
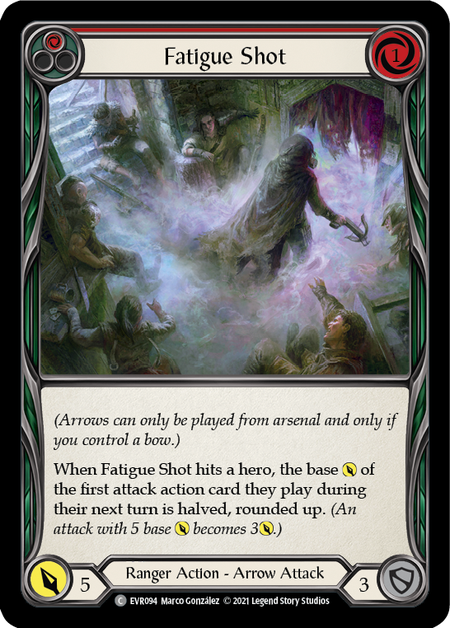 is a card we always use the most of our buffs to try and hit because halving an opponent’s first attack on their next turn allows us to maintain tempo. Against decks that have a ton of different sources of go-again we can fight back with Red in the Ledger (Red)
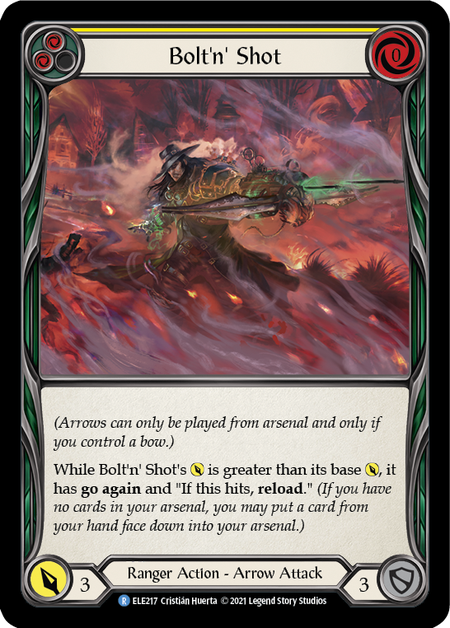
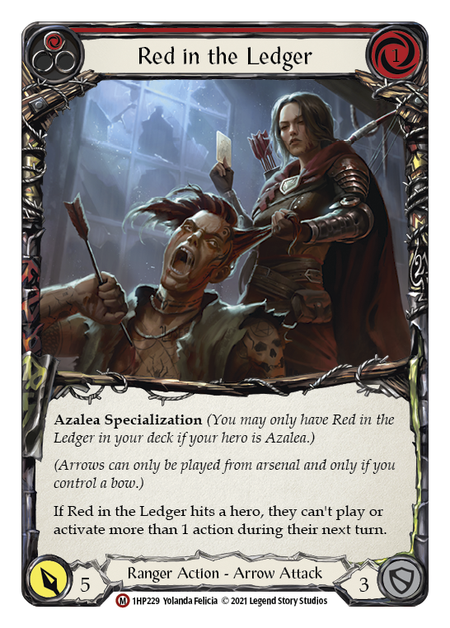 which can hurt decks that are trying to attack a ton. We are playing both Yel and Blu versions of Bolt'n' Shot (Blu)
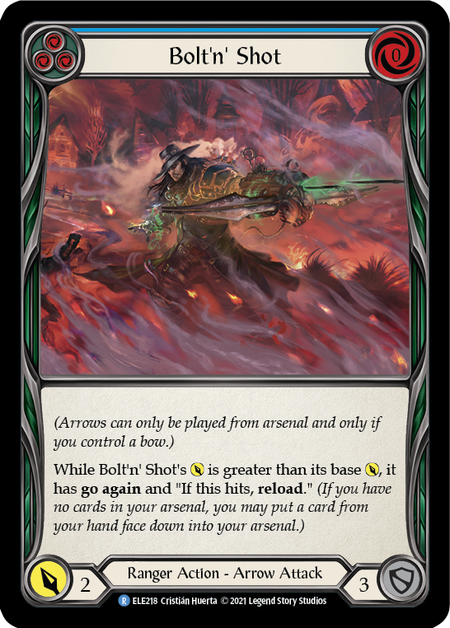 which is an amazing way to get go-again on an attack and reload this is one of the best cards that can help us set up for next turns.
Non-Attack Cards:
Premeditate (Red)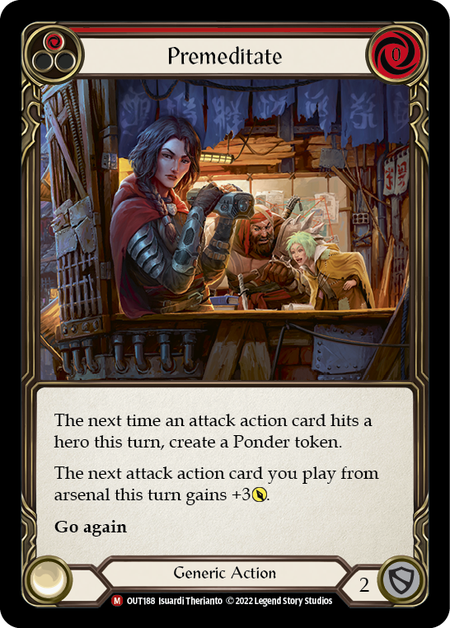 is a great for the deck we get supplemental card draw if we hit and buff up our arrow attack all for zero resources and while it only blocks for two this card is an absolute powerhouse. Read the Glide Path (Red)
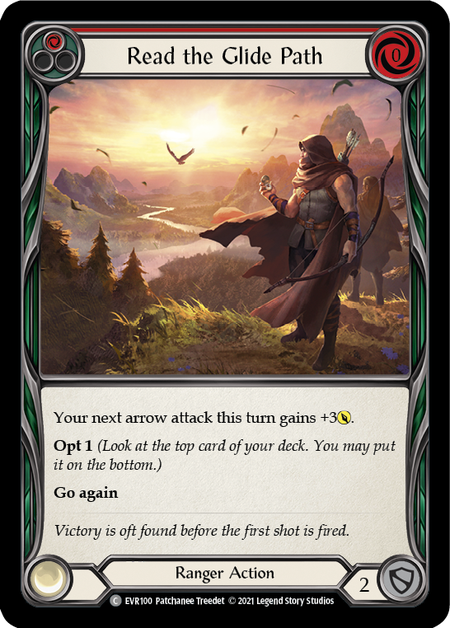 is crazy not because of the buff which is nice, but we have a ton of different buffs, but the information that we get from Opt 1 can be quite strong and often times information and being able to take away a dead draw is quite strong. Release the Tension (Red)
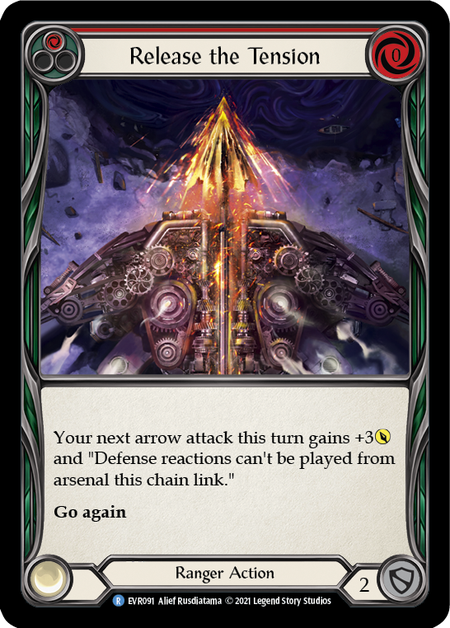 is a strong buff for our arrows and is really good when our opponents put in Sink Below against us or really any D reacts this also helps us in the weapon-based matchups as most of them play That All You Got? (Yel)
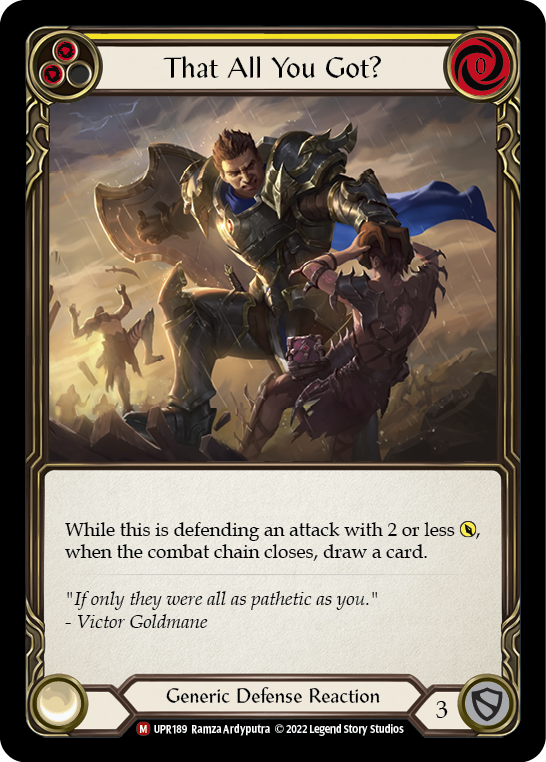 . Another card that is absolutely amazing for the deck is Codex of Frailty (Yel)
 we really hurt any weapon-based decks with this and give us supplemental card draw, I honestly can’t believe this card costs zero. Nock the Deathwhistle (Blu)
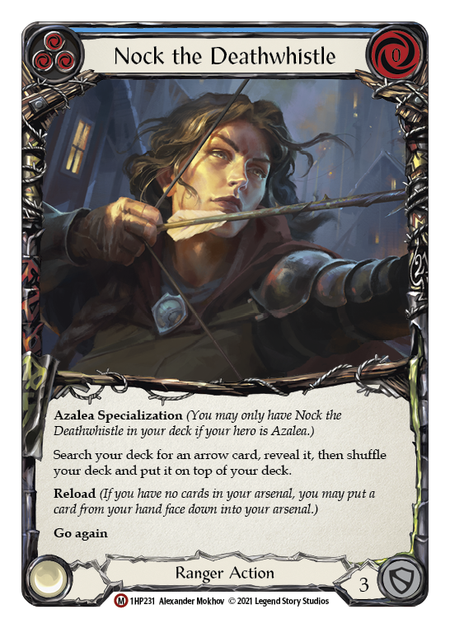 is a sweet tutor for the deck and being able to reload is a great way to get a big attack going or setting up for a subsequent turn.
Equipment and Weapons:
Not a whole ton to say about death dealer other than the art is pretty sweet!
Crow’s Nest serves quite an important role within the deck and getting aim counters pays off an absolute ton, especially with cards like Infecting Shot (Red)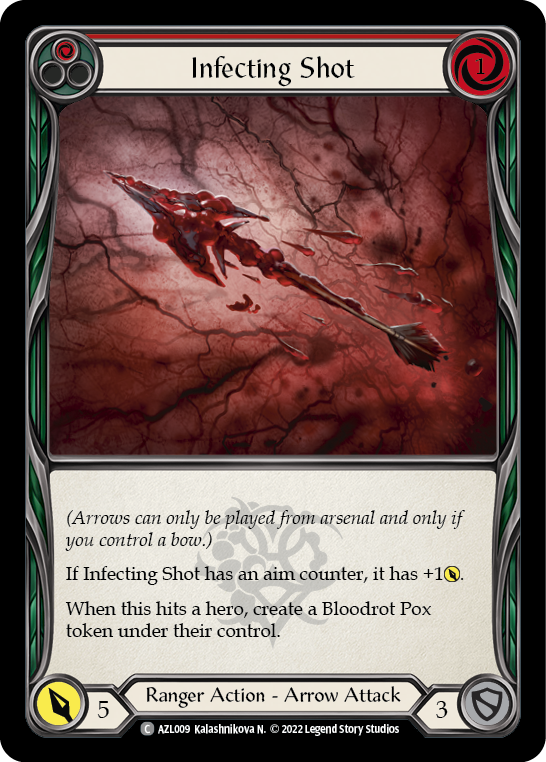 and Dead Eye (Yel)
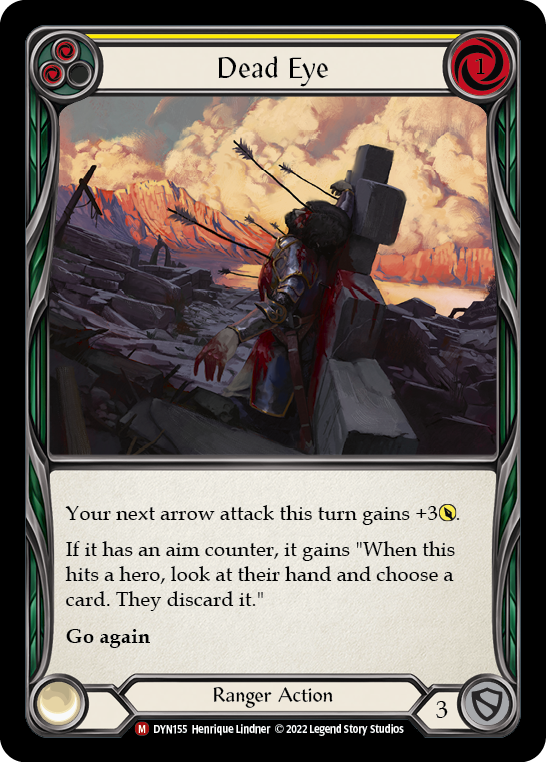 , being able to take advantage of this for only one resource is quite strong.
Being able to flip up an attack from Arsenal is quite strong, and most importantly, Skullbone has AB one, which can be quite helpful against matchups like Viserai. Skullbone is a great piece of equipment for the deck.
Fyendal’s is so dang good and needs absolutely no introduction, the extra resource we can get off it is great and can allow us to activate Crow’s Nest or just cast an additional card. Just a great piece of equipment.
Bull’s Eye Bracers is a great card if our arsenal gets blown up and we don’t have an arrow at the ready; Bull’s Eye allows us to expedite the gameplan, and the turn that we activate it, we can deal a ton of damage.
Snapdragon Scalers is nothing more than a cheap way to give go-again, which is perfect on the turns where we have the extra resources from Fyendal’s.
Strengths of the Deck:
- We have quite a few ways to slow down and ruin the tempo for decks that are based on their weapons, specifically strong matchups against Kassai and Dorinthea.
- We are very good at maintaining tempo while outputting a decent amount of damage every turn.
- The high density of zero-cost cards in the deck allows us often to play out our entire hand on our turn.
Weaknesses of the Deck:
- I have been struggling with the brute matchup as their attacks are quite massive.
- If an opponent boards in defensive cards like Sink Below (Red)
 and can block out our attacks we are much weaker when we don’t get our on-hits.
 - Tough matchups against assassin’s especially Uzuri as they have quite a few cards that attack our arsenal which can hurt our tempo and follow-up turns.
Deck Matchups:
Best Matchups:
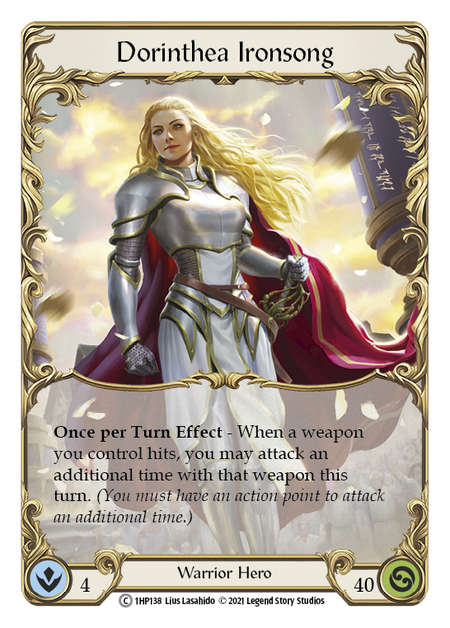
Dorinthea is a pretty good matchup for us; we have a ton of ways to give them Frailty, which really hurts their overall gameplan, and if they are running, hatchets can help to deny the buff from the hatchet attacks, which lowers their overall damage output between that and us being able to output a decent amount of damage we basically force them to block especially if we have an on-hit frailty on the line. Dorinthea tends to struggle when they start their turn with only one or two cards in their hands. I like this matchup a lot. I am 8-0 in testing against Dorinthea, four games against Hatchet and four games against Dawnblade.
Victor Goldmane, High and Mighty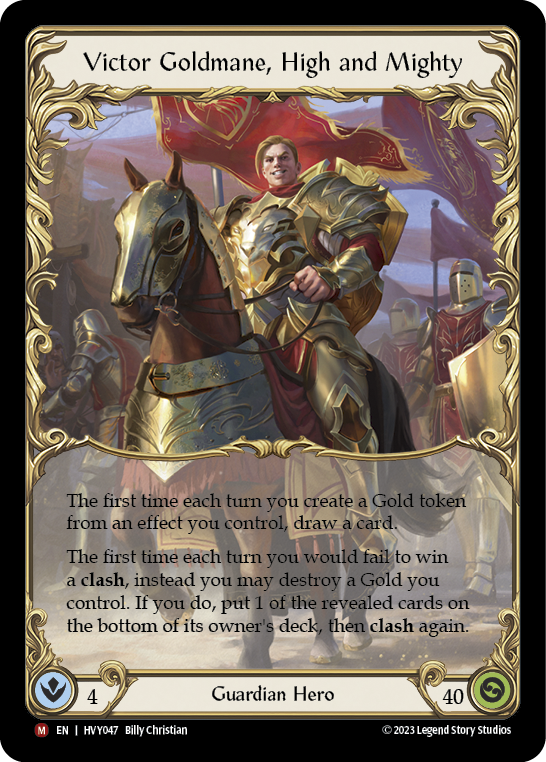
I like the Victor matchup. This matchup often feels like the flip of a coin because of the clashes, but in my experience, we are pretty decent at winning the clashes. While we do have quite a few cards that will auto-lose us clashes, we are still pretty strong, and we can easily out-tempo Victor through our big arrow attacks and block out when they hit hard. I am 6-0 against Victor.
Worst Matchups:
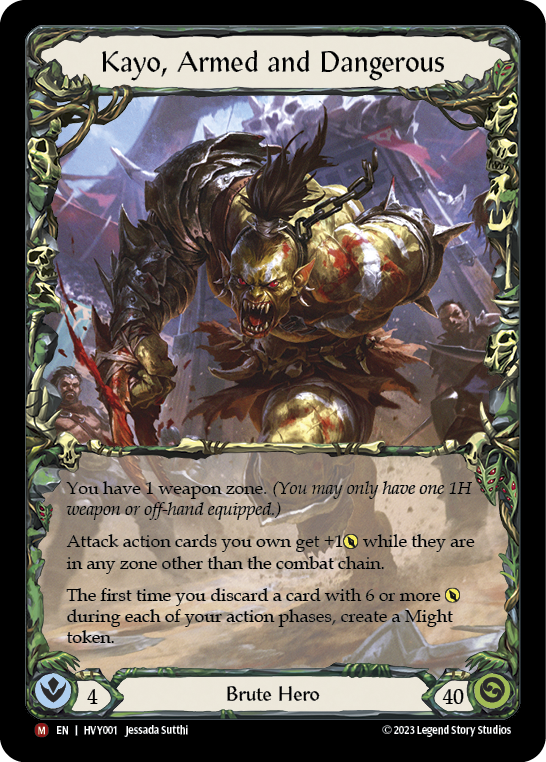
Kayo is a tough matchup for us; while we can put a decent amount of pressure on them, it can be hard to deal with turns where they intimidate, and their attacks are quite big, and if we continuously block it its only a matter of time before we die, while we do have some ways to weaken them it is an overall tough matchup for us. I am 2-9 against Kayo in testing.
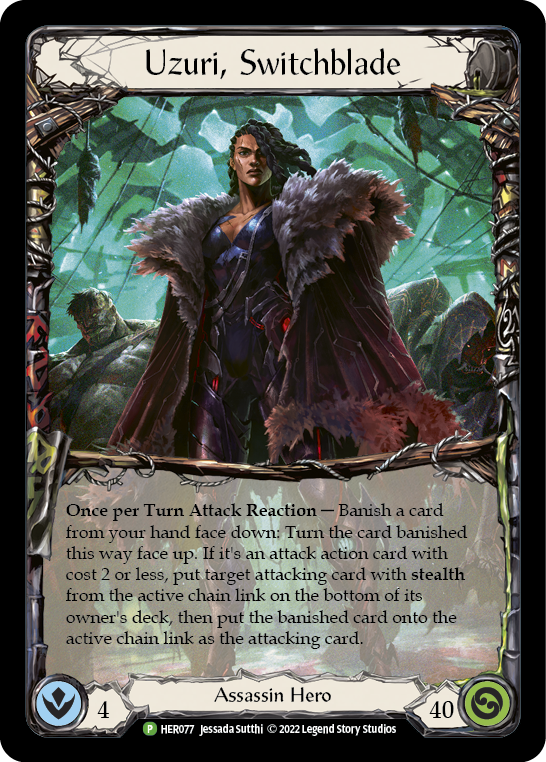
Uzuri is a pretty tough matchup for us, mostly because they have quite a few cards that attack our arsenal, and since we are a ranger, well our arsenal is pretty much everything for us, this is just not an easy matchup and they can out tempo us by utilizing bloodrot pox and frailty’s of their own. This is just a hard matchup for us. I am 1-7 against Uzuri.
Inventory Guide:
There are no changes. This matchup is quite favorable for us.
Victor Goldmane, High and Mighty
We board in Down and Dirty to help us win the clashes easier.
No changes. This matchup is tough, but I don’t find anything in our inventory that helps all that much.
Conclusion:
Azalea is a ton of fun, and I think this an amazing hero to be on right now; with Dromai gone, the field is wide open, and in my opinion, Azalea takes her place. While certainly not the same as Dromai, I think Azalea is very strong and has an amazing spot in the meta. I hope you all enjoyed this one, i am looking forward to attending a bunch of proquests with this one and having an absolute blast. Thanks for reading to the end and for all of your support!