

“And I swear this. If you ever betray me, I’ll burn you alive.“
Table of Contents
Today’s Featured Hero Is:
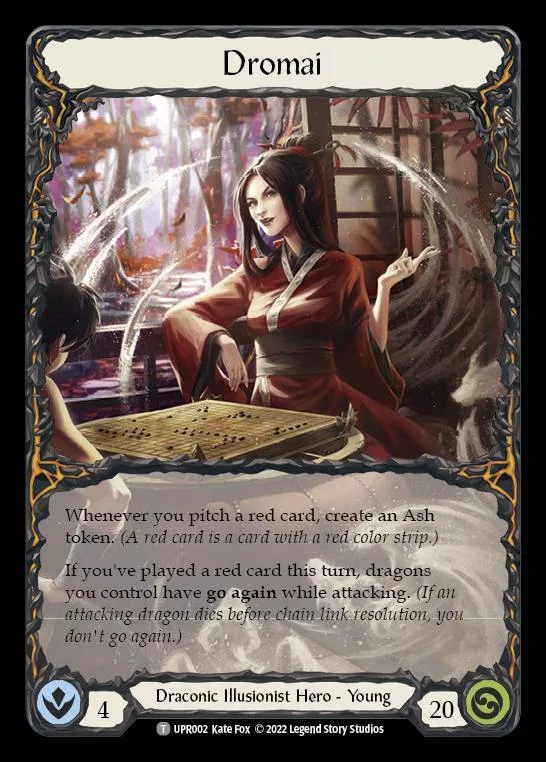
As a newer player to the game and someone who has learned and been enjoying the preconstructed Blitz decks, I was really excited to build a custom deck! Dromai is a hero who has always interested me, especially coming from Magic, and someone I was very excited to build. I tried to keep it pretty cheap and budget to have it fulfill a similar role to the preconstructed Blitz decks as it is accessible and affordable. I have been having a ton of fun with this one, and it is a blast to play, even in its most budget form. I hope you all enjoyed this one as much as I did! Without further adieu, let’s get it!
Gameplan:
The Dromai game plan focuses entirely on Dromai herself. Every time we pitch a red card to pay for a cost, we get an ash token, and this gives us the ability to invoke one of our dragons, which we have quite a few of, and allows us to generate additional attackers. Dromai’s second ability allows our dragons to have go-again if we played a red card this turn, and with thirty-six red cards within the deck, it is very easy to trigger this every single turn. Once we have our dragons established, we have a few ways to make them bigger and better, like Uprising (Red)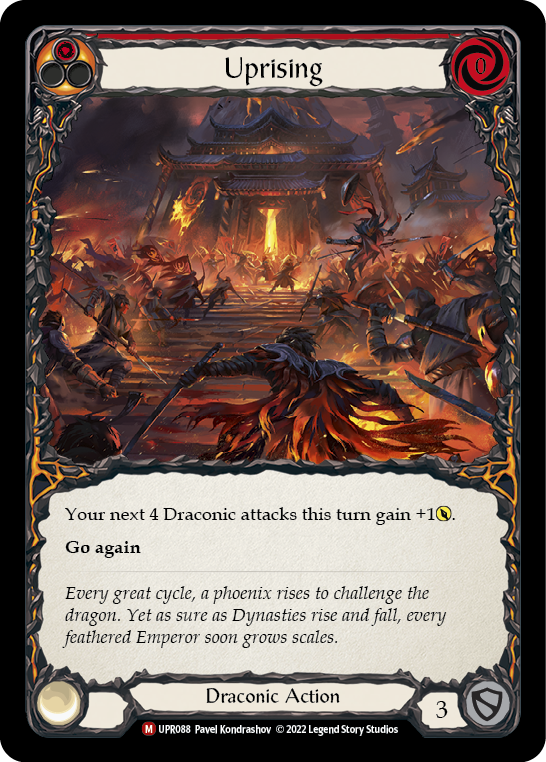 and Burn them All (Red)
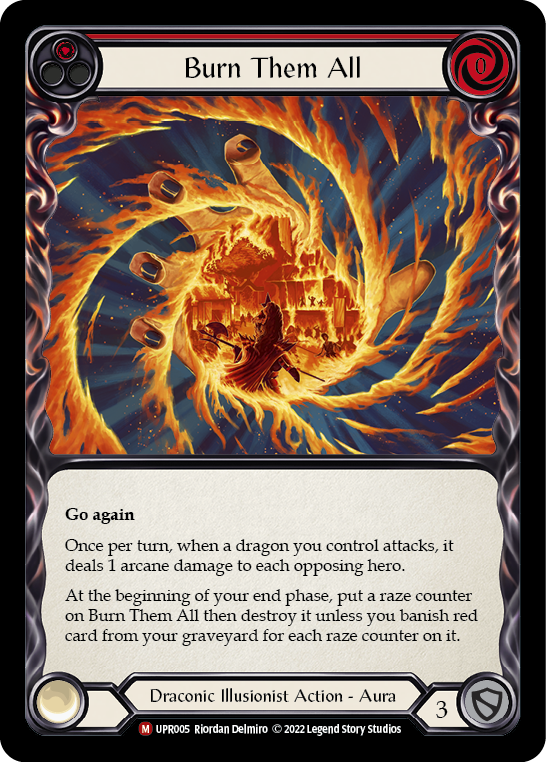 which are great ways to increase our damage output. We are decently aggressive but can absolutely sit back and block if we need to.
The Deck:
Click here to copy full decklist to your clipboard!
| Hero / Weapon / Equipment |
|---|
| Hero: Dromai  Weapons: Storm of Sandikai 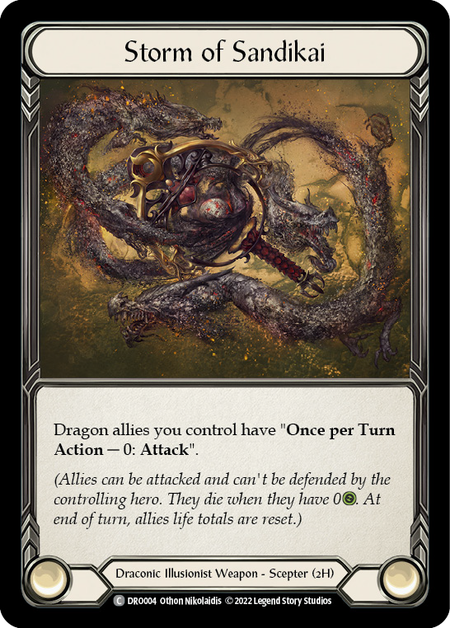 Equipment: Hope Merchant's Hood  Sash of Sandikai  Silken Form 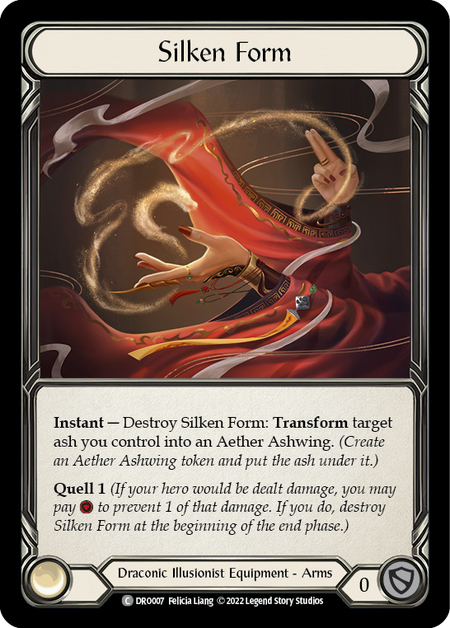 Snapdragon Scalers 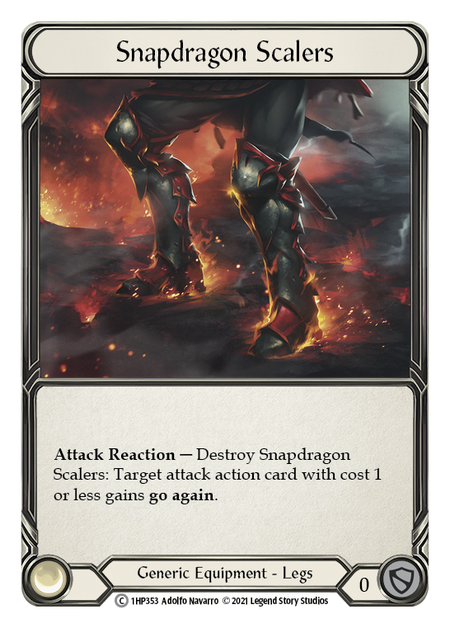 |


| Inventory |
|---|
| Equipment: Ironhide Helm  Ironhide Plate 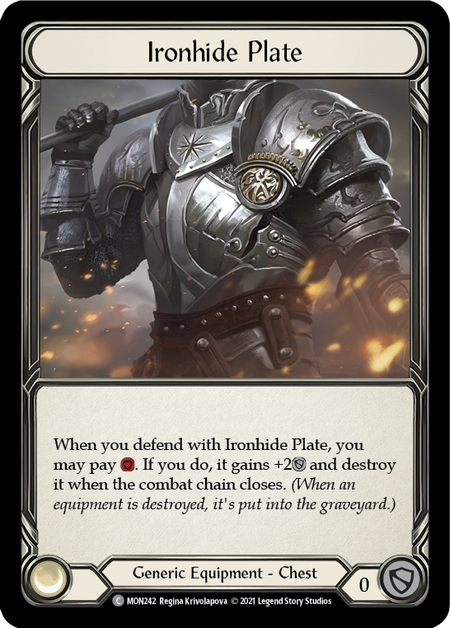 Ironhide Legs  Nullrune Hood 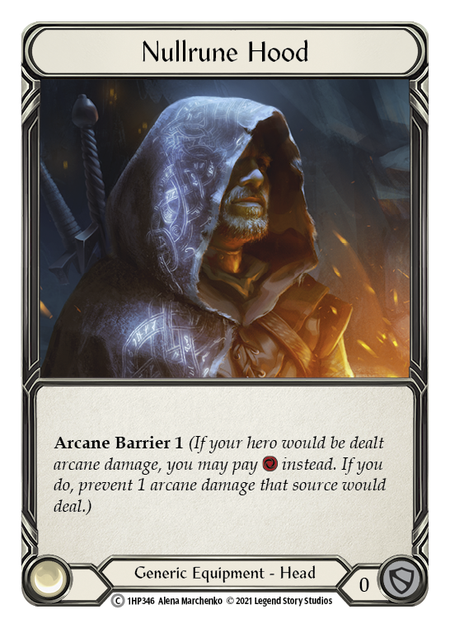 Nullrune Gloves 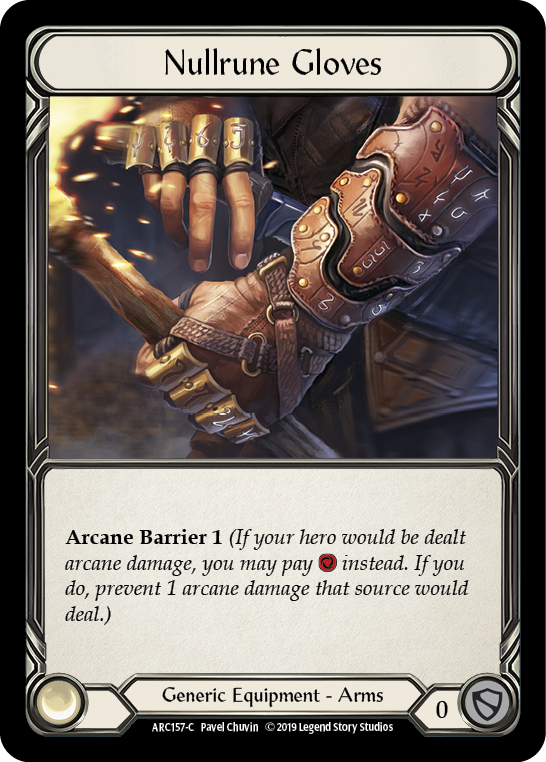 Pitch 1: 1x Uprising (Red) Pitch 3: 1x Timesnap Potion (Blu)  |
Buy This Deck!
Do you need to buy some cards for MTG or Flesh and Blood TCG? Or are you just looking for gaming supplies? Check out our affiliate link with WNYGaming.com and get 5% off anything you order!
Deck Stats:

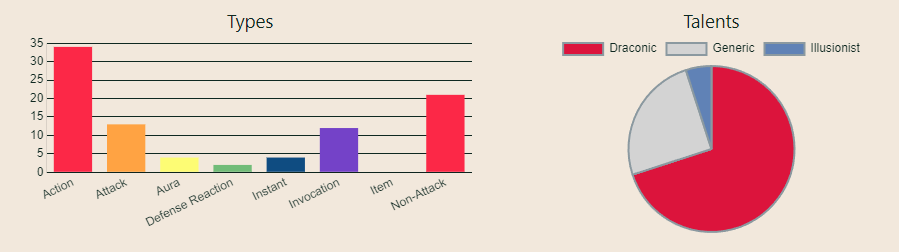
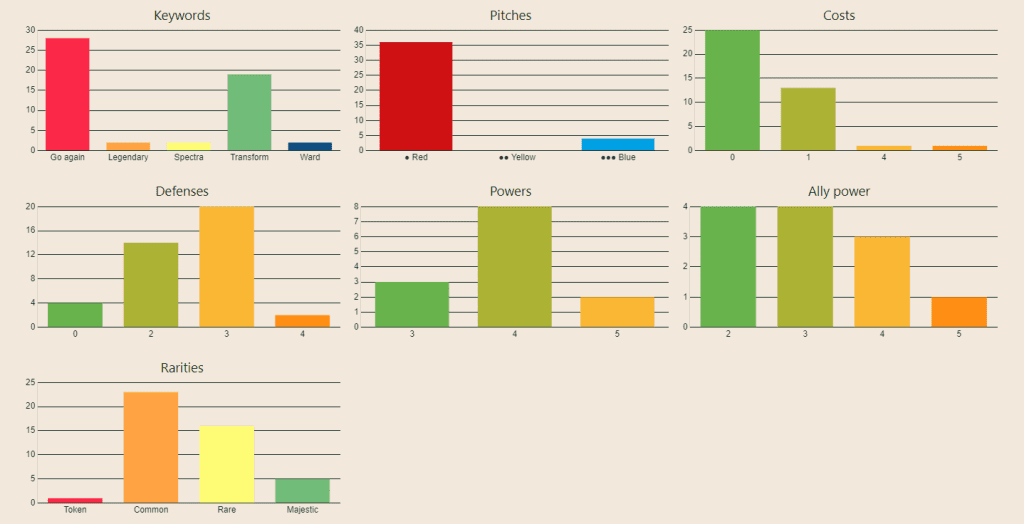
Deck Overview:
This next section highlights some of the best of the best as well as some of my favorite cards in the deck.
Attack Cards:
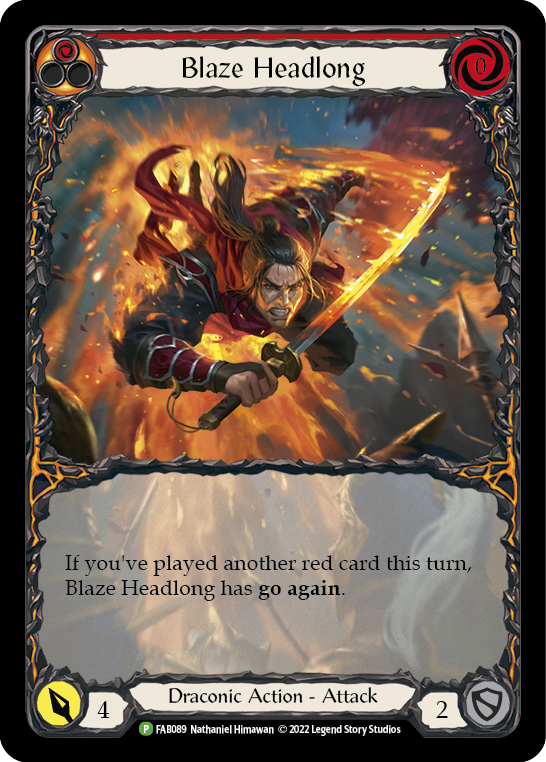
Blaze Headlong is a great aggressive card for the deck and allows us to put a decent amount of pressure on our opponent early since it is free, and because of the makeup of the deck, it is very easy to give it go-again.
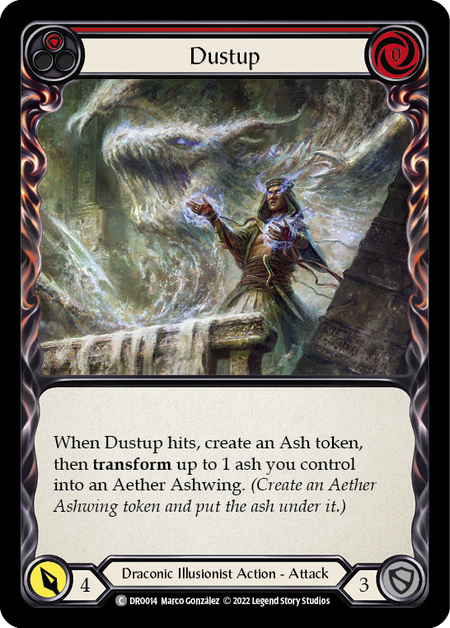
Dustup is a great card that we can use to get an additional attacker in the form of an Aether Ashwing. Dustup is strong because it is free, but typically, our opponents will not let us hit with this, but that’s ok because taking cards out of an opponents hands is strong as well.
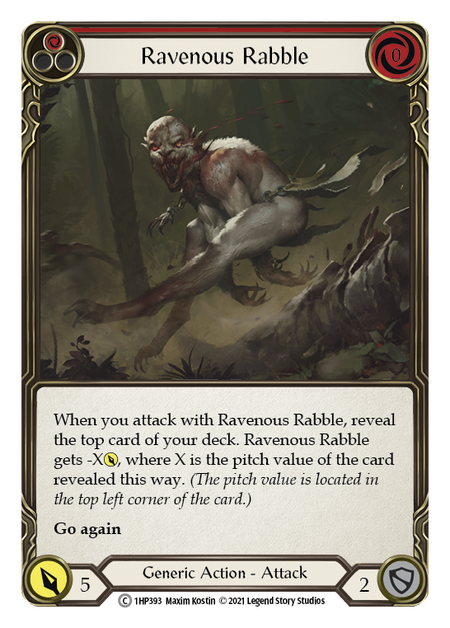
Ravenous Rabble is another very strong and cheap attack that very rarely gets more than -1 when attacking with it; combine that with built-in go-again, and this is a great way to put some pressure on our opponents and take some cards out of their hands.
Scar for a Scar is a pretty strong attack, and against more aggressive heroes, it almost always has go-again, and, as always, we will never say no to a free attack with the possible upside of go-again.
Sweeping Blow is one of the best attacks in the deck since it is decently aggressive. It gives us an additional ash token to summon more dragons or Aether Ashwings and only costs one resource; Sweeping Blow is an overall home-run of a card.
Non-Attack Cards:
Uprising is one of my favorite non-attacks in the deck since it makes our next four attacks better and has go-again and is free, and triggers Dromai. A real win-win for this deck. Uprising is very strong, but we are only running one copy since it requires us to be in a win-more state to get full usefulness.
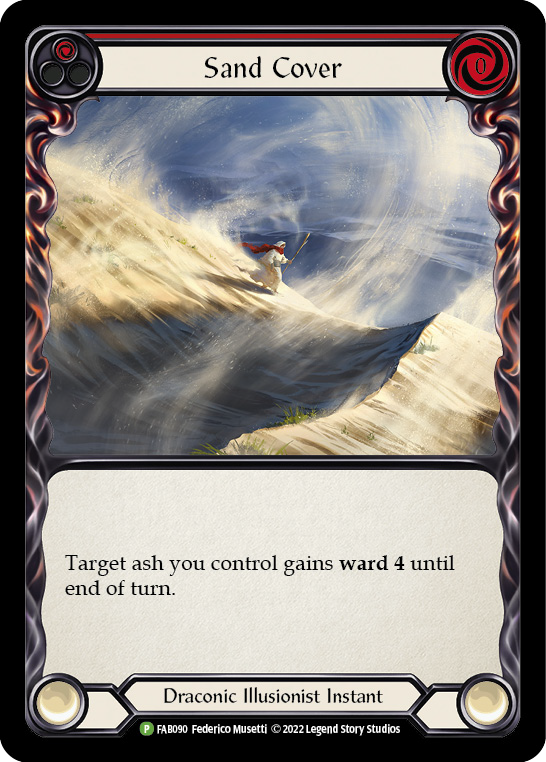
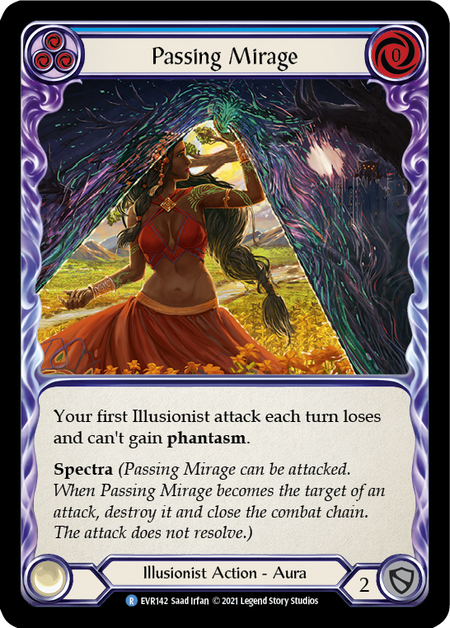
Passing Mirage is a great card, while it only affects a small amount of cards in our deck like Sweeping Blow (Red)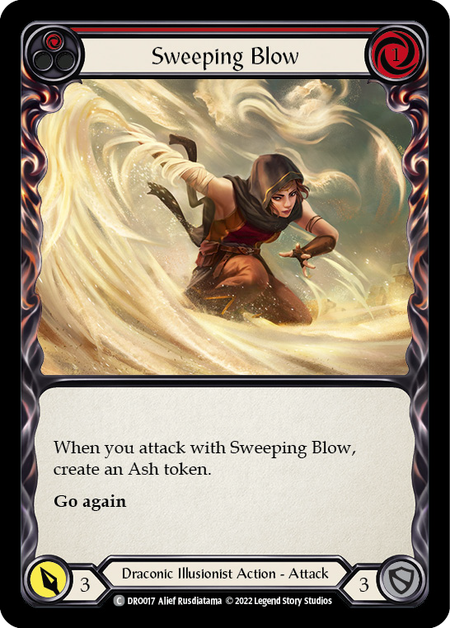 its real beauty comes from the Spectra ability which can protect us from a pretty big attack.
Sigil is great against really any deck because gaining life in a twenty life format can be quite strong. This cards positions us quite well against many aggressive strategies since we can invalidate some of their smaller attacks. This card is also free and triggers Dromai so a great card for the deck.
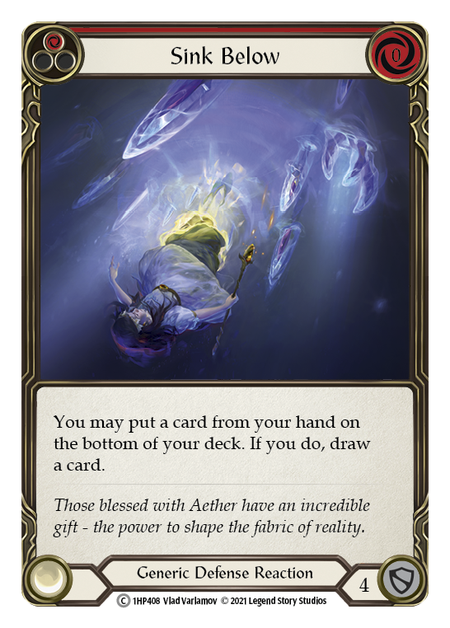
Sink Below is one of the few Defense Reactions within the deck and is a great way to block hard against really any opponent. Being able to draw a card with Sink Below can be quite strong as well; this card is great, and there is a reason this card is a format staple.
All of the Invoke dragons:
We have a ton of great dragons that we love to call by our side, but not all of these dragons are equal in terms of power level. One of my personal favorites is Invoke Yendurai (Red)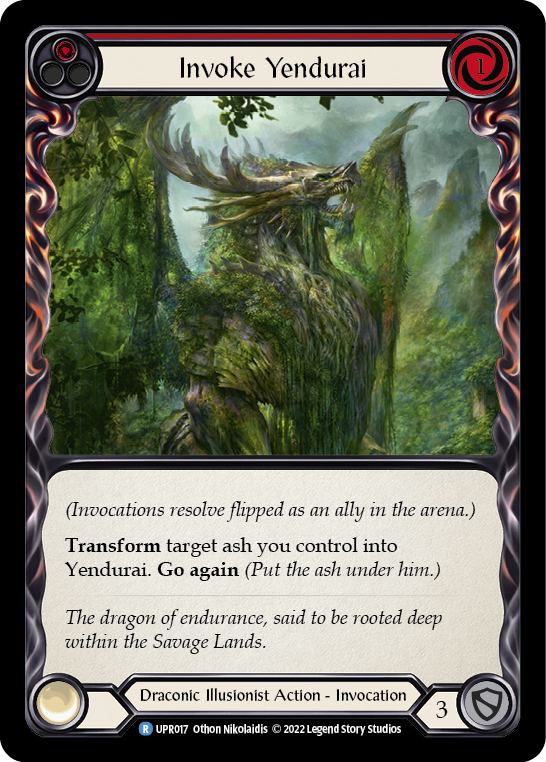 which survives the first attempt at lethal damage to it which can be a great way to have a bigger attack on our turn. We also have Invoke Tomeltai (Red)
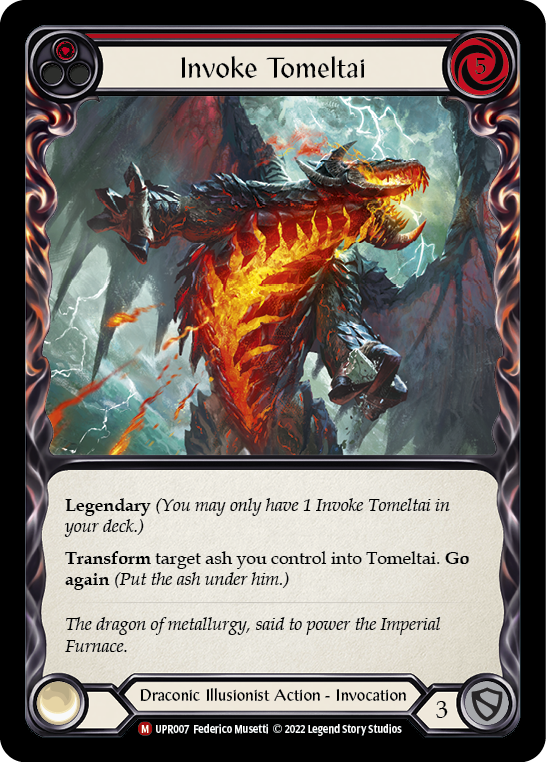 which is another great dragon and since he always reveals red cards for us we can invalidate some of the strongest equipment our opponents have. This is also a great way to fight back against some of the decks that are running the much stronger non-budget equipment. Last but certainly not least I want to highlight Invoke Dominia (Red)
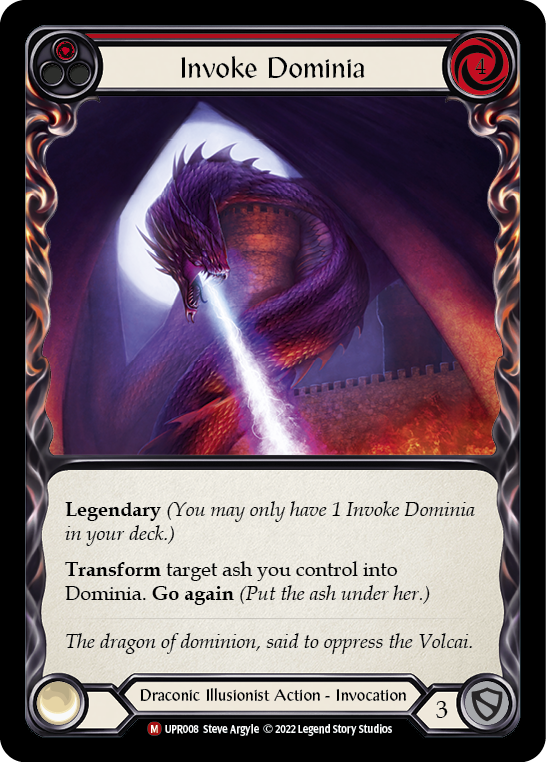 which is another powerhouse dragon who can really hurt an opponents hand, this is great against pretty much any strategy but is very good against guardians like Bravo since they often need the resources of a full hand for some of their bigger attacks.
Equipment and Weapons:
A great piece of equipment that gives us essentially a free mulligan once a game, this is great within our tougher matchups when having a very good hand is one of our keys to victory. Having this option is amazing in most matchups.
Sash of Sandikai provides a resource bump for the deck, and since we almost always have the condition fulfilled, it is a free resource on-demand once during the game, which can be perfect if we have a hand where we are one resource short.
A great piece of equipment for when we fall behind an opponent, if we are unable to draw any of our invoke spells or just can’t seem to find anything meaningful, being able to create an Aether Ashwing can be a great way to get the ball rolling.
A great way to give an attack action go-again; since almost every single attack action in our deck costs one or less, we can get a ton of value out of this, and if we don’t have a ton of dragons established, getting the go-again from Snapdragon can be extremely strong.
Storm of Sandikai is an amazing weapon for when our board is filled to the brim with dragons and we want to swing hard. Being able to 0 attack and combined with the go-again that we typically have from Dromai you can see why we are using both hands to wield this absolute beast.
Strengths of the Deck:
- We are pretty aggressive and have quite a low cost; since we are often pitching red cards, we are able to invoke one of our dragons nearly every turn, which can be a great source of damage for the deck. We are not as fast as the most aggressive decks in the format but can still put out a ton of damage.
- Because of Dromai’s ability almost all of our dragons have go-again.
- Even though we can be quite aggressive, we are actually quite good at blocking, especially with cards like Sink Below (Red)

Weaknesses of the Deck:
- In testing, I have struggled with some of the more aggressive matchups as their damage output is considerably higher, and they don’t have to set up as much as we do.
- We are a budget deck, so we can struggle against some of the decks that get higher value from their equipment.
Deck Matchups:
Please note: I haven’t played every hero with this deck. These are just from the games I played and some notes and takeaways I have. Another piece of note is that these are my experiences, and you may not have the exact same success or lack thereof against a certain hero.
Best Matchups for the Deck:
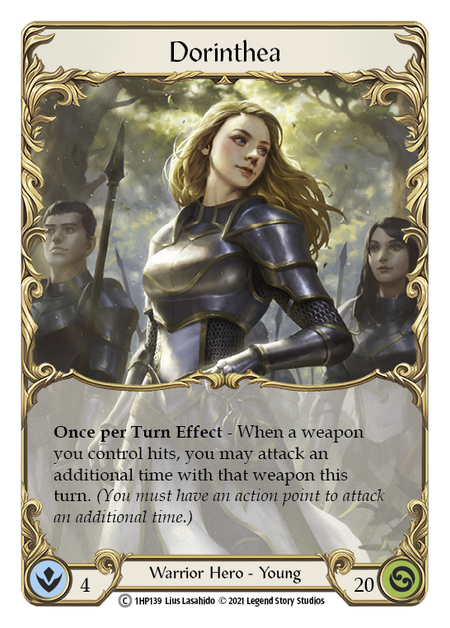
Throughout my testing, I have played against Dorinthea probably ten or eleven times and won eight of the matchups. I find this matchup to be extremely favorable for us. We are much more aggressive than them and can often block out their lower weapon attacks, allowing us to deny their value from their follow-up attacks. All the while, we are invoking dragons, which are decently aggressive and typically have go again. This is a great matchup for us and one we are heavily favored in; denying subsequent attacks through our higher block cards makes many Dorinthea turns do next to nothing.

Rhinar is an interesting matchup for us; while we can often get high-rolled and lose, this is quite unlikely, and when a Rhinar can’t be as aggressive, we typically shine and overwhelm them through all of our dragon attacks. With just one or two dragons invoked, we can easily deny their resources and force their turn to be nothing but draw up and pass. Games like this are nearly an auto-win for us as we can continue to out-value them throughout the game. Rhinar’s ability typically doesn’t affect us that much as we do get the cards back from the intimidating. I find this matchup to be quite favorable for us.
Worst Matchups for the Deck:
The Dromai mirror can be pretty tough; there are many different ways to build Dromai, and we especially struggle against the non-budget versions of the deck. The main reason we struggle is how much more value a non-budget Dromai list gets out of their equipment as well as overall better cards (CNC being a big one). These matchups are not unwinnable, but we are not favored against a Dromai mirror.

The Bravo matchup is very tough for us; the only wins I got when testing against it were against games where they had less-than-optimal hands and rarely could use Bravo’s hero ability. Bravo is very strong, has very high resources as well as attack/block, and can just generally ignore and stop what we are doing. I played against both budget lists and a more optimized version of Bravo and struggled against both.
Inventory Guide:
Dorinthea:
No Changes
I like the matchup against Dorinthea a ton and typically don’t change a thing when I run into them. The base deck lends itself pretty well against them.
Rhinar:
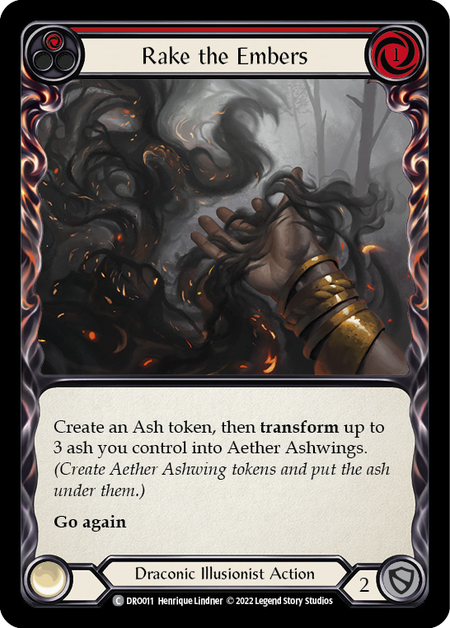
The extra action points courtesy of Timesnap Potion can allow us to have some huge damage turns and just a ton of attacks, they can even be great just to pitch for additional resources. Rake the Embers doesn’t do a ton within the matchup, and the aether ashwings are arguably worse than any of our dragons within a deck that can pop off and deal a ton of damage. I prefer to have better-attacking dragons.
Dromai:
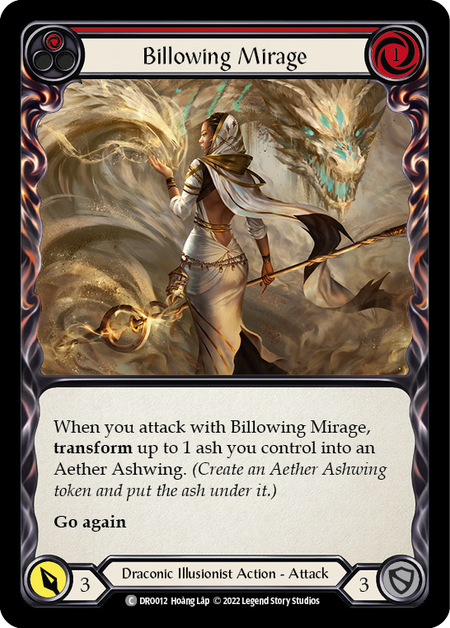
The additional attacks on our dragons from Uprising can be enough to push us over the edge and heavily threaten the opposing Dromai. I think the second copy of Uprising really shines within this matchup. Since we are a budget deck, we absolutely will struggle against non-budget versions of Dromai no matter what, but I feel this cards helps a ton, and the extra damage output puts additional pressure on our opponent. Billowing Mirage is often too slow, and the damage from an Aether Ashwing typically does not matter.
Bravo:
+1 Ironhide Legs
-1 Snapdragon Scalers
This is a very tough matchup for us, so just some minor changes. The go-again from snapdragon scalers rarely matters in this matchup, and I think the extra ash token from the pitch, as well as the additional block from Ironhide Legs, can help our survivability in the matchup. This matchup is very hard for this deck anyway, so there is not a ton to go against it.
Conclusion:
Thank you so much for reading to the end! I hope you enjoyed this deck tech for Dromai. Blitz is a very fun and fast format, and I love that you can play budget or non-budget and still have a ton of fun. If you have a new or old player who is looking to get an introduction or a taste of Dromai, I think that this deck is a great way for them to do it. Stay tuned for more Deck Techs every Friday! Thanks for all of your support!